Setting up a new user in Workflow
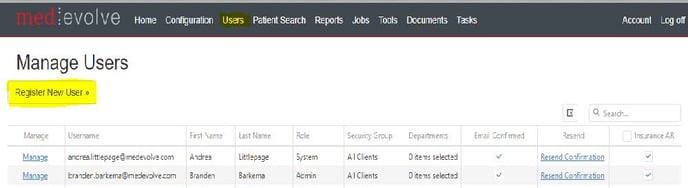
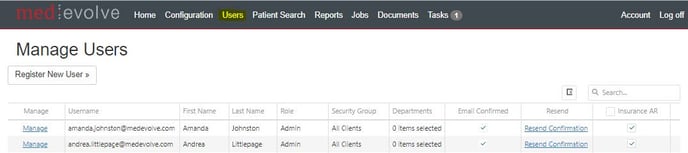
Once logged into Workflow, Admins will click on the “Users” option in the MedEvolve header as shown below. The Manage Users screen will open to display the list of users that have already been created for their organization.
At the top of the page, click on the button that says Register New User>>
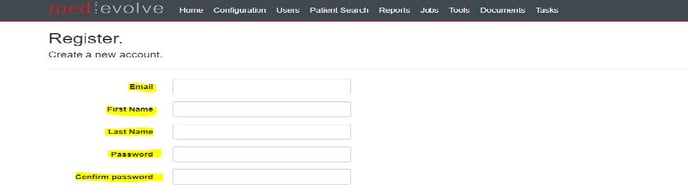
The screen to create a new account will open where specific fields must be completed with a company associated email address, the new user’s first and last name, as well as a generic password which they will need to change once they have successfully logged in.
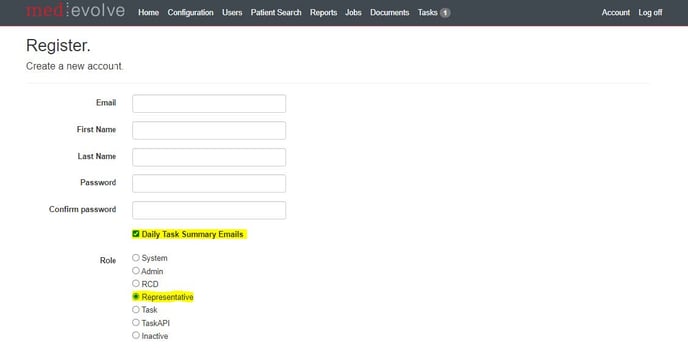
Additionally, the option for “Daily Task Summary Emails” will default to being checked, as well as the Role for Representative access. If the role will be anything other than a Representative, this will need to be changed by simply clicking on the radio button next to the appropriate role for this user. User roles are defined as follows:
- Admin – Supervisor or Director level access.
- RCD – Team Lead level access.
- Representative – Representative level access.
- Task – Representatives level access to only work tasks.
- Inactive – Inactivated User.
**It is important to enter the email address, as well as the first and last name correctly upon creation, as this information cannot be edited once the user is created.**
In the event this does not occur and the email address is entered incorrectly, the user will not receive their multi-factor authentication email from rcmwebservices@medevolve.com to confirm their account, which is required for the user to log into Workflow. The new user would have to be inactivated and then recreated as another new user with the correct email address.
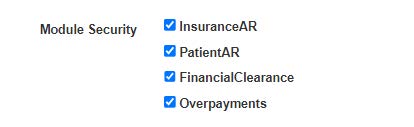
Next, Admins will need to select the module(s) the user will need access to.
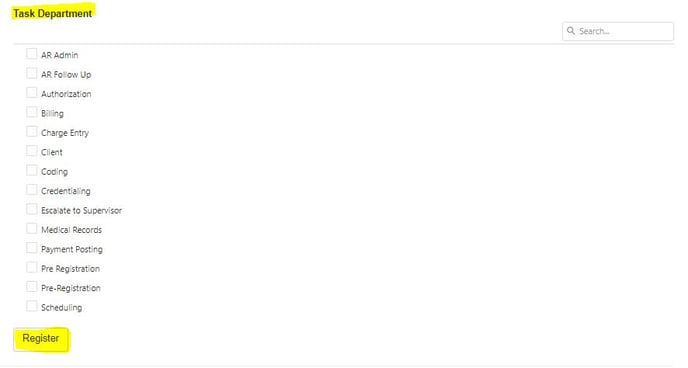
Once Admins have confirmed the user information is entered correctly, they will then select the Task Department(s) the user will be associated with, but only if that user will be responsible for working any Tasks within Workflow.
Once the Task Department(s) have been selected, click on the “Register” button to create the new user.
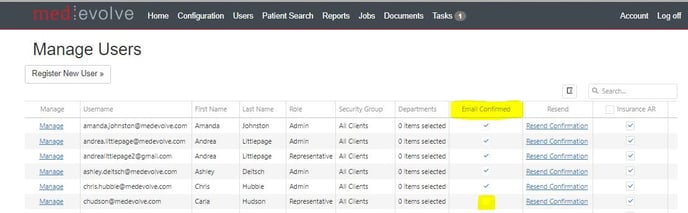
Once the user has been created and appears in the Manage User List, Admins can click on the blue “Manage” hyperlink next to the user’s name and change the settings the user was given at any time.

Once the new user has received the email from rcmwebservices@medevolve.com and confirmed their account, a blue check will appear in the “Email Confirmed” column indicating the user has successfully logged into Workflow.
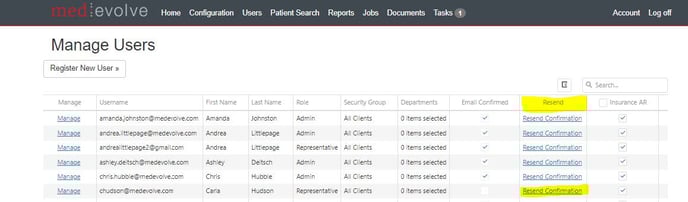
If the user did NOT receive the confirmation email, verify it did not go to their Spam or Junk email folder and then confirm the email address was entered correctly when the user was created.
If the user was not present to receive the email or verify their account timely, Admins can click on the blue “Resend Confirmation” hyperlink to have the email resent when the user is available to access their email.
Inactivating a User within Workflow
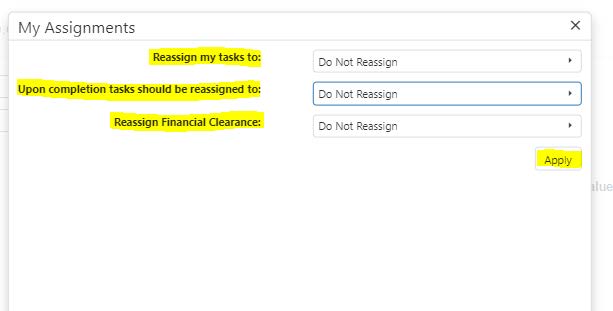
Admins have the ability to limit access at the user level within Workflow, as well as inactivate users should they no longer need access to Workflow functions or have terminated employment. Admins also have the ability to reassign another user to the worklists and tasks that were previously assigned or created by the newly inactive user.
Admins will click on the “Users” option in the MedEvolve header as shown below. The Manage Users screen will open to display the list of users that have been created for their organization.

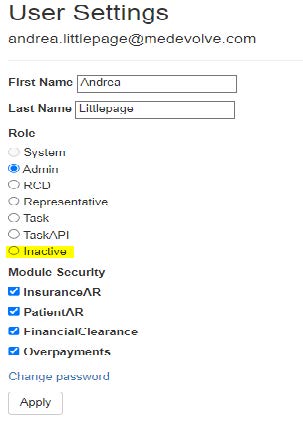
Next, click on the blue “Manage” hyperlink next to the user name needing to be inactivated. This will open the user’s individual “User Settings” page where the role will need to be changed to “Inactive” and then click on the “Manage Assignments” button to display the window to reassign the user’s tasks and worklists.
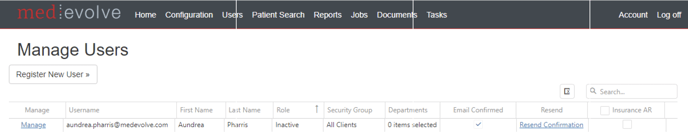
The Manage Users list will then display the user as “Inactive” in the Role column.
Limit Access to User Role in Workflow
Admins have the ability to either grant or remove access for users to export worklists, update security to Workflow modules, and change user associated Task departments.
Admins will click on the “Users” option in the MedEvolve header as shown below. The Manage Users screen will open to display the list of users that have been created for their organization.
Next, click on the blue “Manage” hyperlink next to the user needing to have their security updated and then make changes to their access from the individual user settings page, before clicking the Apply button.

Custom Configurations and Functions
Exporting Power BI Worklists
Power BI is an analytical tool designed to allow practices real time insights into key metrics, as well as quickly diagnose the financial health of their organization. Admins who have access to the Power BI Workspace Reporting tool have the ability to export certain underlying data and import this into Workflow to create a custom worklist.
MedEvolve Workflow AR Snapshot
The Power BI MedEvolve Workflow AR Snapshot report allows Admins to review productivity on open AR claims to ensure they are being worked timely and efficiently. This report also gives insight into the last claim status and action taken by the representative in order to provide Admins an overview of the account resolution tactics being utilized.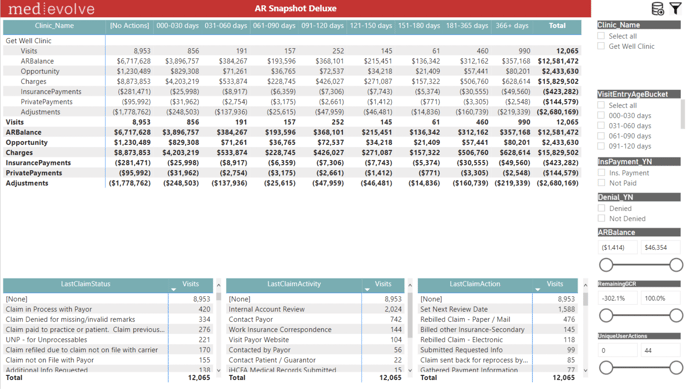
There are currently four views for this KPI report:
- AR Snapshot
- AR Snapshot by Last Action User
- AR Snapshot by Payer Category
- AR Snapshot by Denials
The slicers to the right are important to use when narrowing down the data to review claims that have not been worked, as well as those that have and how long it has been since they were touched.
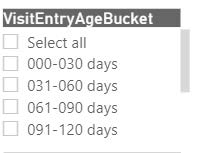
- VisitEntryAgeBucket – This selection reflects the date of the visit which usually corresponds with the date the first charge was entered. NOTE: Hold down the Ctrl key to make multiple selections.
- InsPayment_YN – This selection allows the view to include claims that have had NO insurance payment vs. those that have had at least one payment >$0.01.
- Denial_YN – This selection allows the view to include claims that have a denial posted. NOTE: There is also the AR Snapshot by Denials KPI view which will reflect the denial categories, as well as the claims that are not denied.
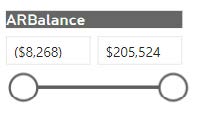
- ARBalance – The selection allows users to change the range of balances to include within this view. It is recommended the higher balances be included when reviewing what is being followed up on to proactively mitigate the risk of avoidable write-offs due to timely filing.
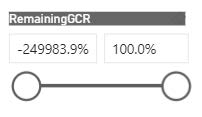
- RemainingGCR – This selection takes the historical gross collection rate (Total payments/ Total charges on zero balance claims) and then values the existing claims on the AR at the insurance plan level.
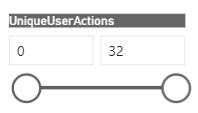
- UniqueUserActions – This selection allows the user to review how often claims have been touched by choosing the minimum amount of touches deemed as acceptable. The maximum amount of touches will always default to the claim that has the highest number of touches.
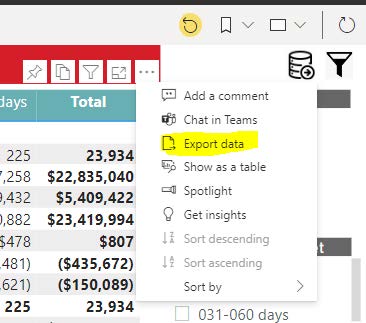
- After the user has set the parameters they wish to review for claims touched, they will “mouse” over the upper right corner of the window pane in order for the “more options” window to appear and click on the ellipsis.
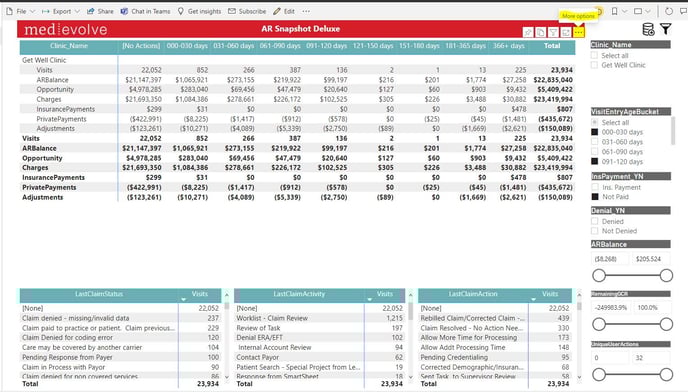
The option to Export Data will appear for the user to make this selection.
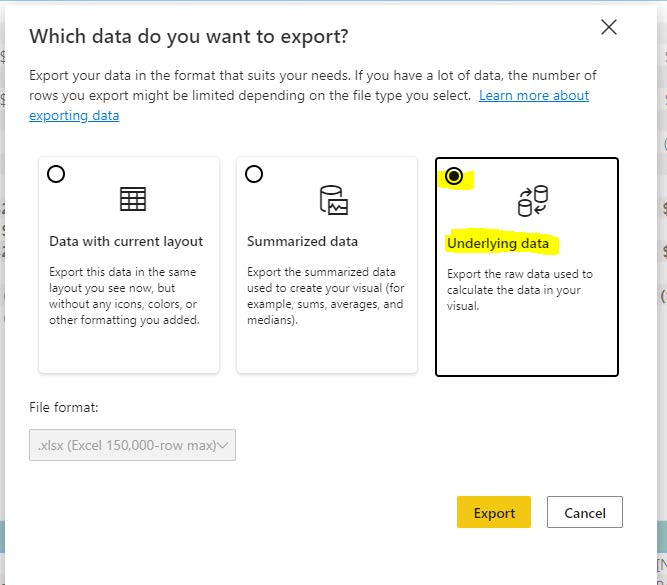
Next, the user will choose to option to export the Underlying Data and then click the yellow “Export” button for the Excel spreadsheet to generate.
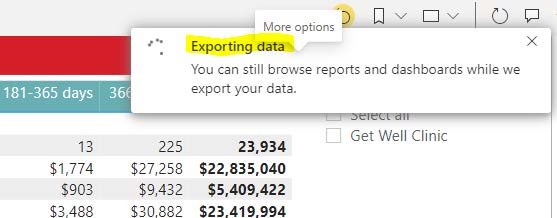
There will be a notification window informing the user they can still browse other reports while their data is being generated.
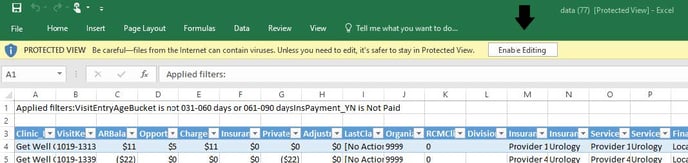
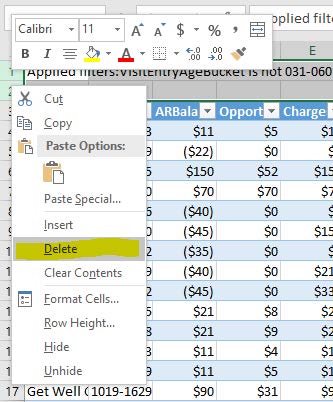
Once the report opens, the spreadsheet will require the user to Enable Editing and then delete the first two rows of the spreadsheet which simple display the parameters that were selected. Then save the report to your local drive which is necessary before it can be imported into Workflow.
Importing Power BI Worklists
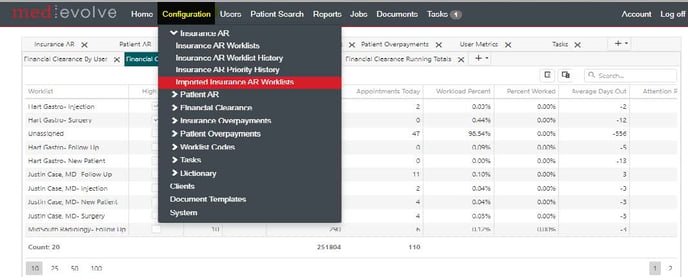
To begin importing the excel spreadsheet from Power BI, users will click on the Configuration option in the MedEvolve header within Workflow and select “Imported Insurance AR Worklists” from the Insurance AR dropdown list.
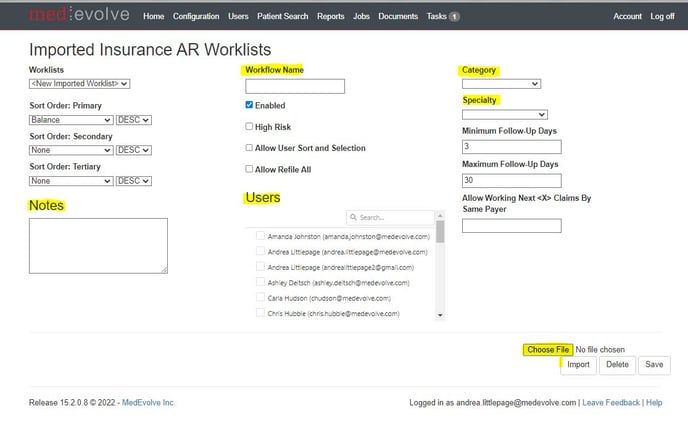
The Imported Insurance AR Worklists configuration page will open for Admins to select the user(s) to be assigned, any relevant notes regarding what the worklist parameters consist of, as well as naming the imported Workflow before clicking Choose File to upload and import the data. Once saved, the newly imported worklist will appear the following day for the end users assigned, after the nightly process has run.
If the user fails to complete any of the required fields or there is an error that is causing the worklist to not successfully import, there will be an error message detailing what needs to be corrected. This includes how the data is formatted, as noted below.

Activity, Action, and Status Codes
Admins have the ability drive reporting by customizing the worklist codes within Workflow to provide more detail into the resolution tactics being utilized by representatives in order to get claims paid.
How to Add a Worklist Code
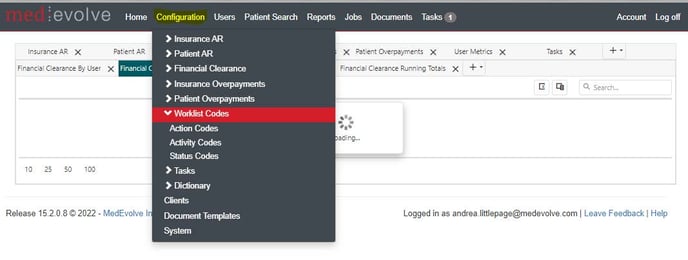
Admins have the ability to modify, add, inactivate, or delete worklist codes for all modules within Workflow by selecting Configuration in the MedEvolve header and clicking on the option for Worklist Codes.
- Action Codes – Refer to the action taken by the representative to get the claim paid. For example, did the representative refile the claim, submit an appeal, provide medical records, etc.
- Activity Codes – Refer to how the claim was worked. For example, was this an outbound effort made from calling the payer, going to the payer website to review the status, or was this effort made from an inbound call received, etc.
- Status Codes – Refer to the description of the claim. For example, was the claim denied for some reason such as no authorization, is it still pending something like documentation or additional information requested, etc.
From the Action Codes option, Admins can simply click the “+” sign to add a new Action Code in the Description column and then select the modules the code needs to be enabled for. Admins also have the option to add “instructions” to assist representatives in selecting the appropriate action for the steps taken when working the claim.
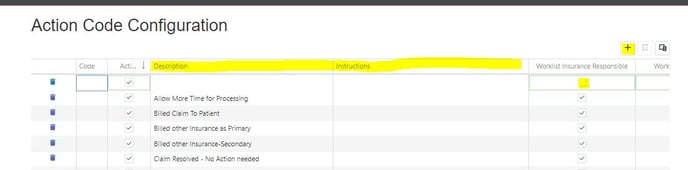
There is an additional feature which allows Admins to specify the minimum and maximum follow days for a specific Action Code. Note: These minimum and maximum days will override what has been set up in the worklist configuration page for claims falling within the worklist.

From the Activity Code Configuration page, Admins will follow the same steps to add an Activity Code, however there is no option to set minimum or maximum follow up days, as this is only configurable within the Action Code Configuration.
To add a Status Code, Admins will select this option from the Configuration dropdown in the header and click the “+” sign to begin adding a Status Code in the description column. There is also an option to select “Default Actions”, which will condense the list of Action Codes down to only those that apply to the specific Status Code chosen while working a claim.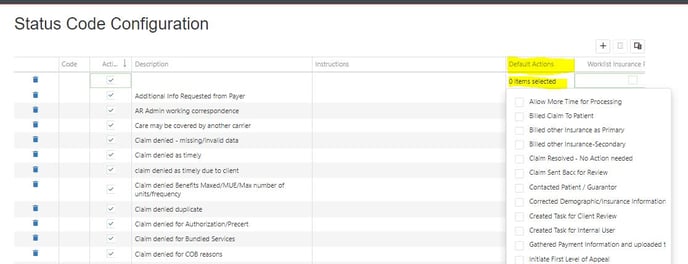
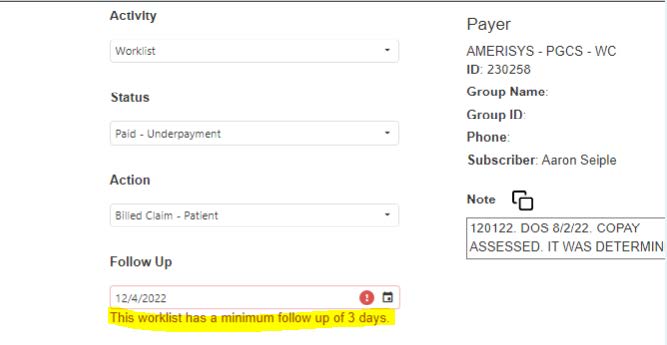
Once the Worklist codes have been configured, representatives will see these options to choose from when selecting the Activity, Action, and Status codes which best apply to the claim they are currently working.
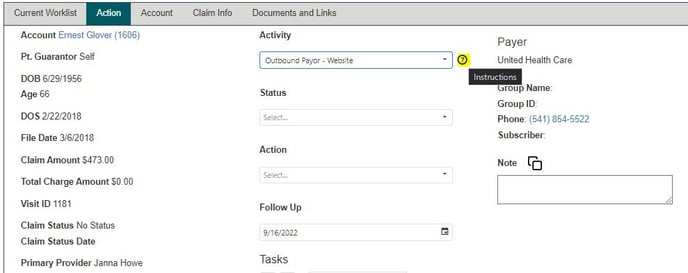
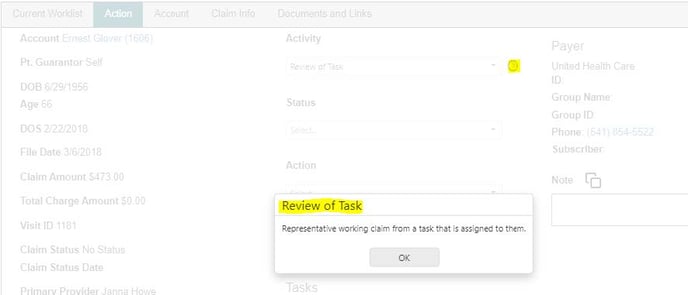
The blue question mark next to each worklist code selection will provide the instructions in a window for the representative to review and determine whether the worklist code is appropriate to use for their claim.
Additionally, the minimum follow up days that have been configured in either the worklist configuration page or in the Action code page will display if the representative does not choose a range of days that meet those requirements.