
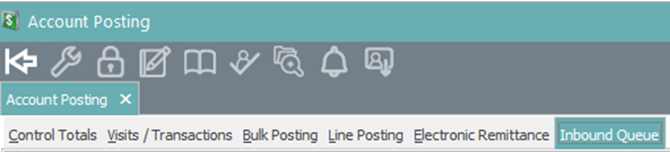
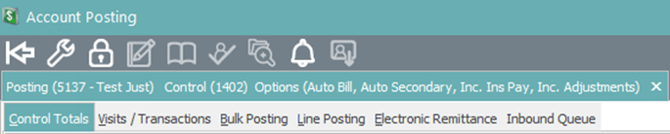
From the homepage in MedEvolve, click Posting.
![]()
Once the posting screen appears, click on the Inbound Que tab.
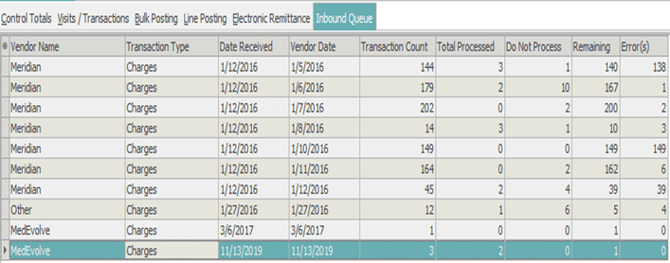
Select the file containing the charges that you want to post, or process, into MedEvolve.
-
Vendor name – Vendor that file was received from.
-
Transaction Type – Charges or Payments.
-
Date Received – Date file was received in MedEvolve.
-
Vendor Date – Date file was created by the vendor.
-
Transaction Count – Total amount of transactions in the file.
-
Total Processed – Total amount of charges in the file that have been processed.
-
Do Not Process – Total amount of charges in the file marked as do not process.
-
Remaining – Total amount of charges remaining unprocessed in the fle.
-
Error(s) – Total amount of charges in the file with errors. (Will only show once someone has tried to create the charges)
You can click in the columns of each transaction and make changes to CPT Codes, Diagnosis Codes, Modifiers, Locations, Providers, NDC, ETC. (Press F3 to pull up table list to choose from)
You can also rearrange these columns to your preferred sequence.
![]()
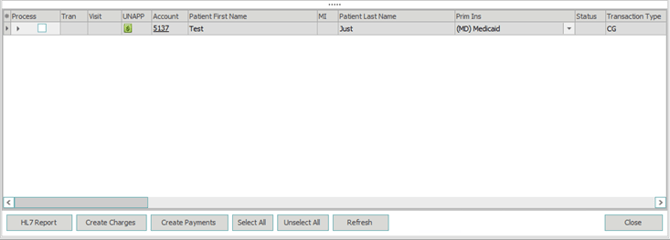
Select the charges you would like to process or press Select All (at the bottom of the screen), to select all charges.

![]()
Select Create Charges
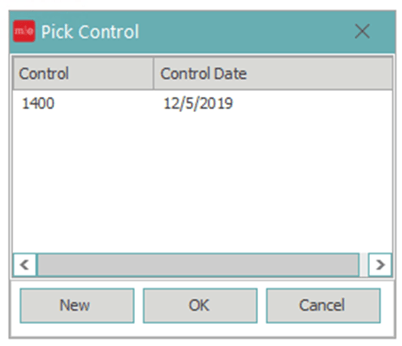
Double click on an open control to process the charges into an existing control or select New to process them into a new control.
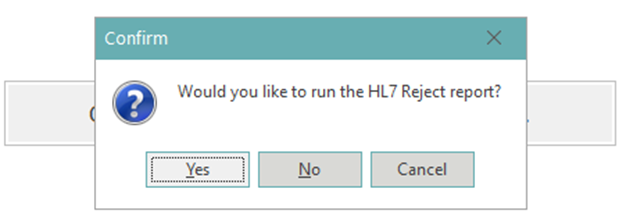
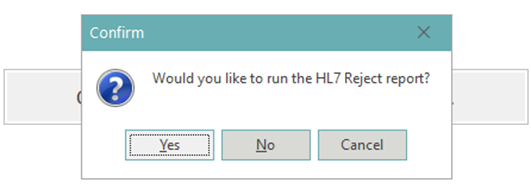
The following popup will appear, click No.
You will then get another popup letting you know that either all charges were created or some of the charges were created.
 OR
OR 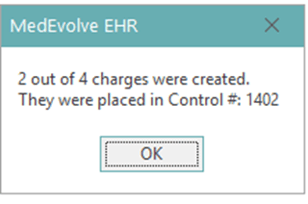
If all charges were created successfully, you can view them in the Control Totals Tab.

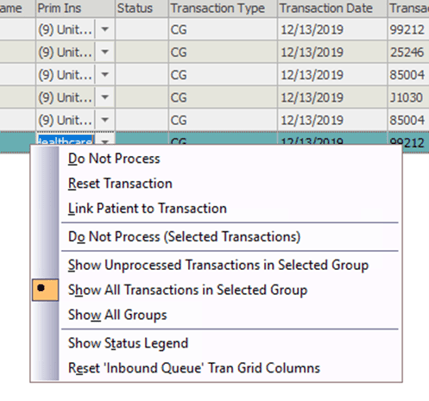
If only some of the charges were created, you will need to correct the errors in order to process the charge. To do this, right click on the charge line.
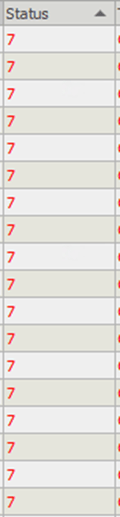
Select show status legend.
Compare the status legend with the number(s) shown in the status column to make necessary corrections to the charge.
 →
→ 
Select the corrected charges you would like to process.

![]()
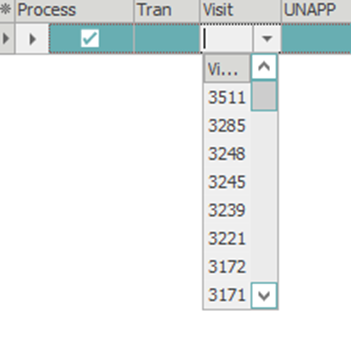
Select the drop down in the visit column and attach the visit # from the previously created charge(s) in order to apply the corrected charge on the same visit instead of creating a new visit for the corrected charge.
Select Create Charges
![]()
Double click on an open control to process the charges into an existing control or select New to process them into a new control.

The following popups will appear, click No.
You will then get another popup letting you know that either all charges were created or some of the charges were created.
 OR
OR 
If all charges were created successfully, you can view them in the Control Totals Tab.
If only some of the charges were created, you will need to correct the errors following the instructions above.
Right Click Options
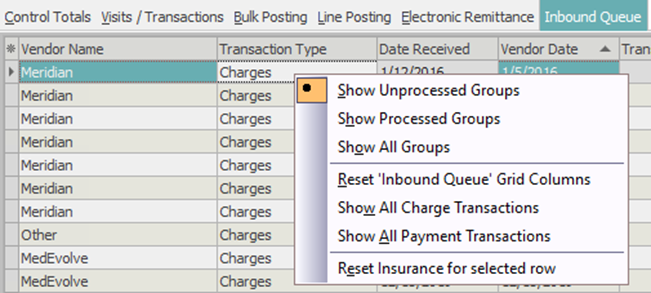
Show Unprocessed Groups – Will show only unprocessed files.
Show Processed Groups – Will show only processed files.
Show All Groups – Will show both, processed and unprocessed, files.
Reset ‘Inbound Queue” Grid Columns – Will reset the arrangement of the columns to default arrangement, if they were changed.
Show All Charge Transactions – Will show only files with Transaction Type “Charge”.
Show All Payment Transactions – Will show only files with Transaction Type “Payment”.
Reset Insurance for selected row – Will reset the insurance to the default setting, if it was changed.
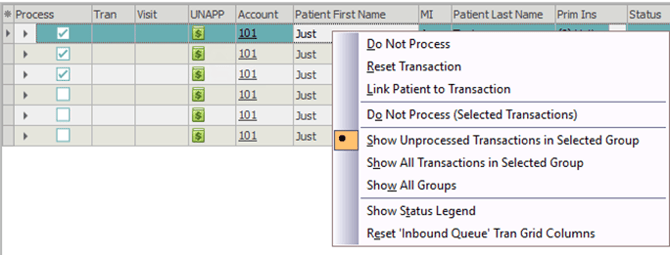
Do Not Process – Will keep charge from being placed into open control once other charges are processed.
Reset Transaction – Will take charge out of open control and place it back into the inbound Queue.
Link Patient to Transaction – Will link the transaction to a patients account if the charge is not associated with the pts account.
Do Not Process (Selected Transactions) – If multiple transactions are selected, selecting this will keep charges from being placed into open control once other charges are processed.
Show Unprocessed Transactions in Selected Group – Will show only unprocessed transactions within the file selected.
Show All Transactions in Selected Group –Will show both, processed and unprocessed, transactions within the file selected.
Show All Groups – Will show all groups (Processed and Unprocessed).
Show Status Legend – Will show the status legend associated with the status column.
Reset Inbound Queue’ Tran Grid Columns – Will reset the arrangement of the columns to default arrangement, if they were changed.
***NOTE: Remember to close your controls on the Control Totals Tab when you are done processing charges.