
USER PREFERENCES
To review or change your user preferences, go to View > Preferences. All Posting preferences are available under the Posting option to the left.
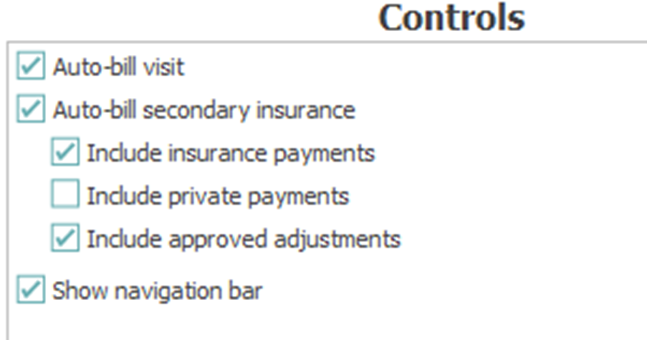
Control Preferences: Select the applicable options for each ‘Close Control’ action to alleviate the need to select these options upon every close control action.
ACCESSING ACCOUNT POSTING
From the main screen in MedEvolve:
-
Click on “Posting”
-
Press CTRL+P
-
Click Applications and then click Posting
Once you access Posting, you will automatically be on the Controls Tab. (See Below)
![]()
All charges must be posted in an open control. If you have any open controls, they will display in the control box. (See Below)
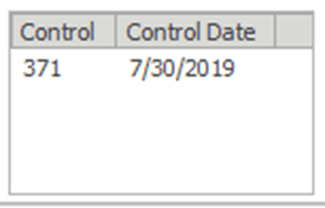
If you want to post payments using an open control:
-
Click “Control Number”(located on the top left of the screen)
-
Double click on a control located in the control box.
If you want to post payments using a new control:
-
Select “New” (Located on the bottom right of the screen)
![]()
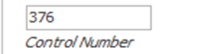
When your control number is being displayed in the Control Number field, you are ready to move on to the next step of charge posting.
POSTING CHARGES FROM VISITS/TRANSACTIONS
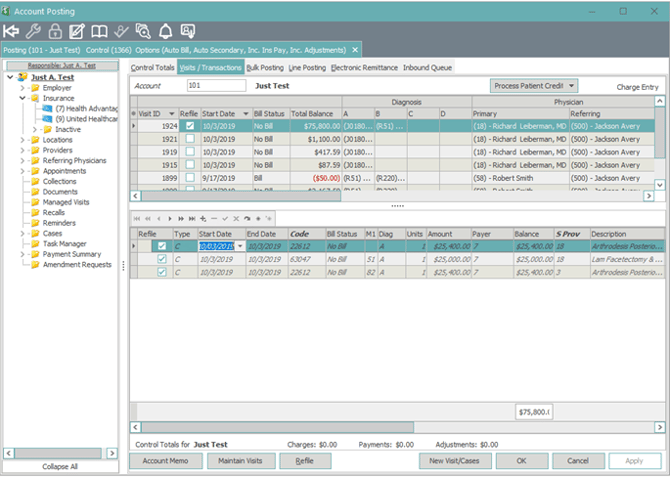
After creating or accessing your control, select the Visits/Transactions tab at the top of Account Posting.

Load the patient account by typing the account number into the account field, or by clicking the word Account to search for the patient.

After you’ve populated the patient account, any previous visits will appear in the upper portion of the window. All transactions related to the selected visit will appear in the bottom portion of the window. The Patient Tree will also display to the left.
To create a new visit, select ‘New Visit/Cases’
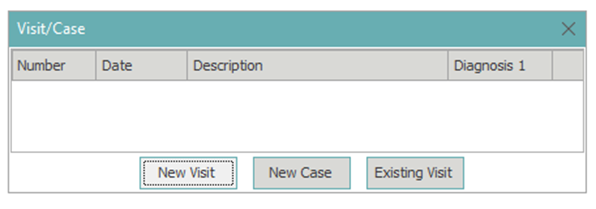
Choose if this is a New Visit, New Case, or an Existing Visit. (If an active case exists for this account, you’ll have the option to choose the case from the case list when creating a new visit/case. If this is a New Case, you’ll be able to create a case prior to creating the visit details.)
After choosing your visit type, complete the Visit Information window. Required fields: Service Location, Insurance Provider and Financial Location. Enter the code, or search by clicking the italicized words for each.
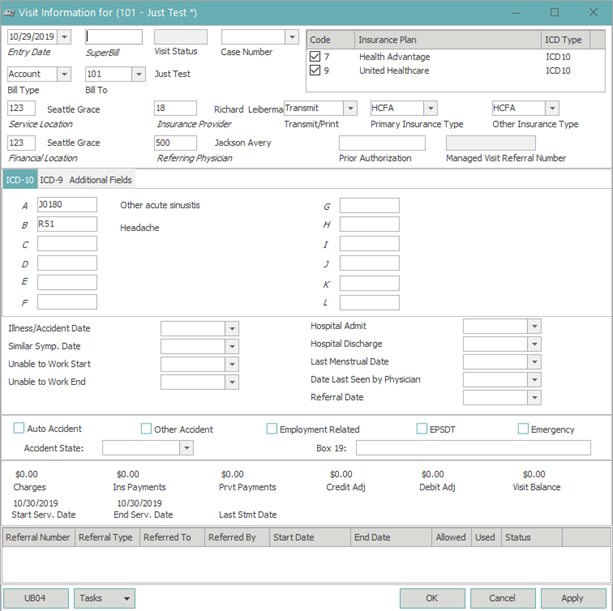
Superbill will auto-populate if the client prints superbills. Superbill number defaults as the oldest, unused superbill number generated for the patient. This can be manually changed if the superbill number doesn’t match the number printer on a superbill.
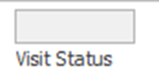
Visit Status will populate after the visit is created as ‘Bill’ or ‘No Bill’. Bill, if the patient is the responsible payer for the visit, No Bill if insurance is the responsible payer.
Case Number will populate the case number selected at the start of the visit, or can be added after creating the visit by selecting the drop-down and choosing the appropriate case.

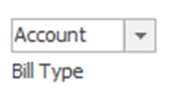
Bill Type defaults to ‘Account’ if an employer is not attached to the account. If an employer is attached to the account, Bill Type will default to Employer. This is changed by selecting the drop-down and choosing the appropriate ‘Bill Type’ option.
Bill To relates to the Bill Type field, and displays the name of the account that will receive a statement for the visit. This is typically used for ‘Responsible Party’ accounts to choose a parent or guardian that should receive a statement in lieu of a child.

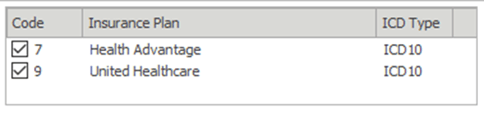
The active insurance plans for the date of service will appear at the top-right of this window. This is used to disable or enable insurances as needed per visit. Most often used in a workers comp or DME scenario where primary payers should not be billed on the claim, based on the situation.
Transmit/Print, Primary Insurance Type and Other Insurance Type are defaulted from the insurance categories associated with the insurance plans on the visit. Never change these options, as that can affect claim filing.
Referring Physician, if required for the claim, is populated by entering the referring physician code, or searching and selecting referring physicians by clicking the italicized word Referring Physician.

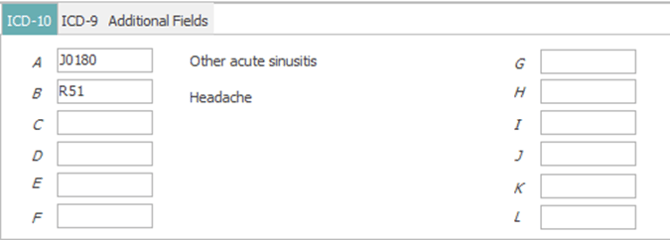
ICD-10 tab provides up to 12 diagnosis codes to be sent on the claim. When typing Dx codes, never use a decimal in MedEvolve.
Enter each Dx in the appropriate lettered field. If you need to search, click the italicized letter next to the appropriate Dx field, then search by partial code or description. Press enter, tab or click Search after entering your criteria. Do not enter decimals when searching. Double click the diagnosis from the bottom of the Dx search window as needed.
If this were and accident related claim, you will enter any accident related information.
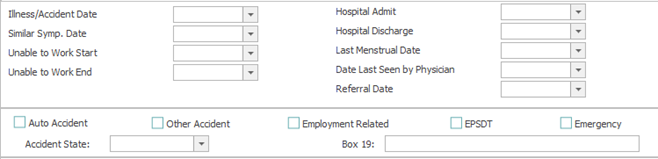
Once all relevant claim information has been entered on this visit, select OK.
![]()
ADDING CHARGES TO A VISIT
To add new charges to the new visit, click the ‘+’ in the upper-left of the transactions section.

The new charge line will appear.

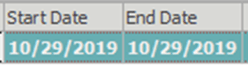
Enter the start/end dates, if different from the control date.
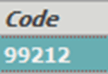
Enter the CPT/charge code in the Code field. If unsure of code, click the italicized word Code to search your available CPT’s.
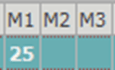
Add modifiers to M1, M2 or M3 as needed.
Add Diagnosis Pointers based on the Dx codes added to the visit. (Diagnosis pointers will not default on the first line, as the transaction has to be saved for the system to look at the service dates, compared to the insurance plan ICD-10 effective date, to determine which codes should display on the visit. All transactions lines added after the first line will default to the pointers from line 1, and can be changed as needed)

Update units as needed

Add the Service Provider in the S Prov field. If your preferences are set to default the service provider from the visit, the S Prov will auto-populate as the insurance provider when the transaction is saved. If this preference isn’t set, you will be required to populate a service provider on each charge transaction.
To add a new charge line, arrow-down on your keyboard, or click Apply, then click .
Continue adding charges until all necessary CPT codes are entered. Click Apply to save your transactions, or arrow down to save, then arrow up to remove the new line created by arrowing down.

When you are finished adding all charges for the chosen patient, enter the next account number at the top, or search and select the next patient using the Account search option. Continue creating visits and posting charges following the same steps.
ADDITIONAL TRANSACTION COLUMNS
Amount is auto-calculated based on the fee schedule charge amount multiplied by the number of units

Payer will default the code based on the primary insurance plan enabled on the visit information window. If the patient is responsible, Payer will reflect ‘Account’.

Balance will default when saved and will update as payments/adjustments are posted to the charge transaction.

Description defaults as the description of the CPT code from the related fee schedule.
On Hold can be used to place a transaction in a ‘hold’ status while waiting for additional information. This will stop a claim from being generated for that transaction. When ‘On Hold’ is released, the claim must be ‘refiled’ to trigger a claim to generate.

The Narrative folder reflects narrative text from the CPT fee table. For payments/adjustments, the narrative folder contains the ‘Trace Information’ details. Double-click the narrative folder to display details. (Red tab on folder indicates there are no narrative details. Green tab on folder indicates narrative items exist)


NDC reflects the NDC numbers associated with the CPT code. If multiple NDC numbers exist for a CPT, a pop-up will appear, allowing you to select the NDC needed on the claim.
Post-Op displays with a green tab if post-op days are active for the CPT code. Double-clicking the Pop-op folder will display the pop-up reminder created by the pop-op days associated with the CPT code.
File Ins is required for any CPT code that needs to be filed on a claim to insurance. If File Insurance is unchecked, a claim will not be generated for that CPT code, but the code will remain in insurance responsibility until manually changed to another payer or to patient responsibility.

Bill Date reflects the date a transaction switch to a ‘Bill’ status.
Control Number displays the control the transaction was created in.
Remarks will display any remark codes received on an ERA for the related transaction. Remark codes can be viewed by double-clicking the field.

Claim Adj displays any claim adjustment codes received on an ERA for the related transaction. (You may double click remark or adj codes to view additional details)
Task will display a link to tasks created from the transaction line. Double-click the task icon to view the task.

ADDITIONAL VISIT COLUMNS
Visit ID displays the unique visit ID assigned when the visit was created. All visits in the same database will have a unique visit id to link ERA’s back to the appropriate visits/transactions.
Start Date reflects the oldest transaction start date associated with the visit.

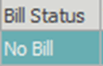
Bill Status reflects the current bill status of the visit. No Bill = the entire visit is still in Insurance responsibility. Bill = the entire visit is currently in patient responsibility. Mixed = some transactions on the visit are in a No Bill status, some transactions are in a Bill status.
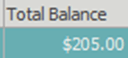
Total Balance reflects the total balance remaining for all transactions on the visit.
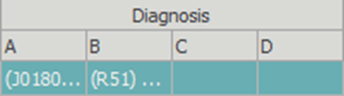
Diagnosis (A,B,C,D) shows up to the first 4 diagnosis codes attached to the visit. Hover over each code to see the description.
Primary Physician is the Insurance Provider attached to the visit. Hover to see the full name.
Referring Physician is the referring physician attached to the visit. Hover to see the full name.

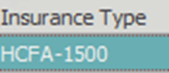
Insurance Type displays the primary insurance type from the visit details screen. HCFA 1500, UB92 or None will be displayed, based on claim type.
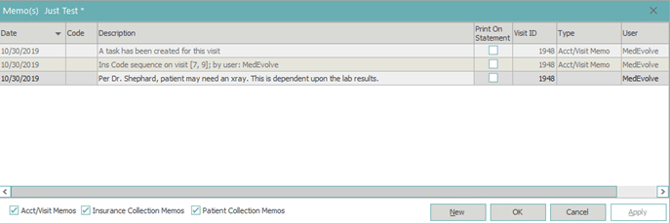
Memo displays any memos from ERA posting, or manually added memos, related to the visit. Double-click the memo folder to view/add memos to the visit.

History displays claim filing history, as well as visit changes that have occurred since the visit was created. (Red Tab on folder = No filing history/Green Tab on folder = Filing history exists) You can double click this folder to view all filing history for this visit.

Case Number displays the case number if a case is attached to the visit.

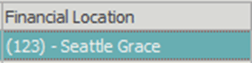
Financial Location displays the financial location code and name attached to the visit.
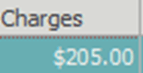
Charges (C) displays the total charge amount of all charges associated with the visit.
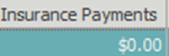
Insurance Payments (I) displays the total amount of insurance payments posted to transactions on the visit.
Private Payments (P) displays the total amount of private payments posted to transactions on the visit.
Credit Adjustments (A) displays all credit adjustments posted to transactions on the visit.
Debit Adjustments (AA) displays all debit adjustments posted to transactions on the visit.
Remark Codes will display any remark codes received on an ERA for the related visit. Remark codes can be viewed by double-clicking the field.
![]()
Task will display a link to tasks created from the visit line. Double-click the task icon to view the task.
![]()