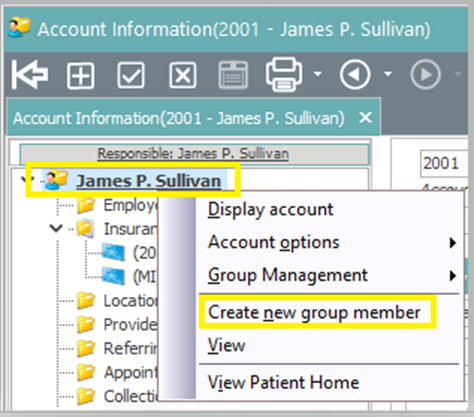
Adding a Responsible Only Account to the Group
Step 1: Right click on the patient’s name in the Patient Tree and select “Create new group member”.
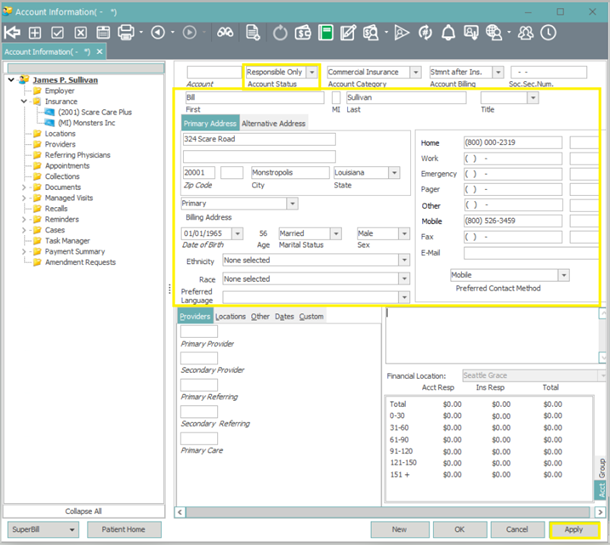
Step 2: Select the Account Status of “Responsible Only”, enter/verify the responsible party’s information (No Account # required), and click “Apply”.
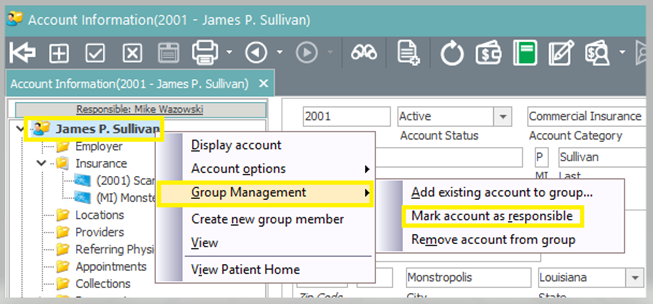
Step 3: Right click on the responsible account name, now that the accounts are grouped, and select “Group Management” then “Mark account as responsible”.
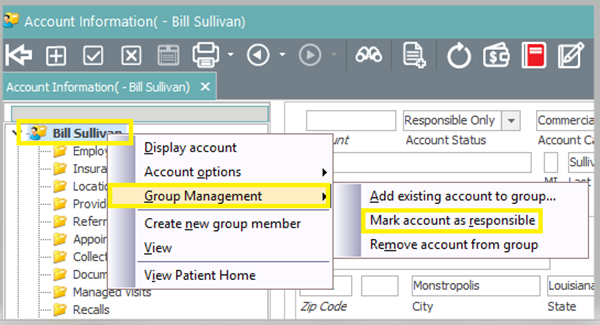
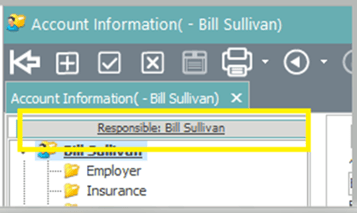
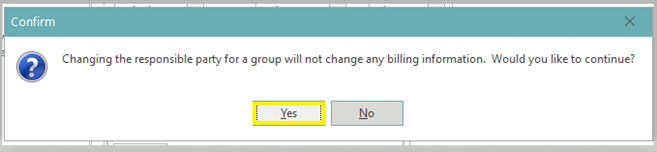
Step 4: Click “Yes” on the popup to confirm the responsible party change. Once the popup closes, you will then see the responsible party name listed above the account name in the Patient Tree.

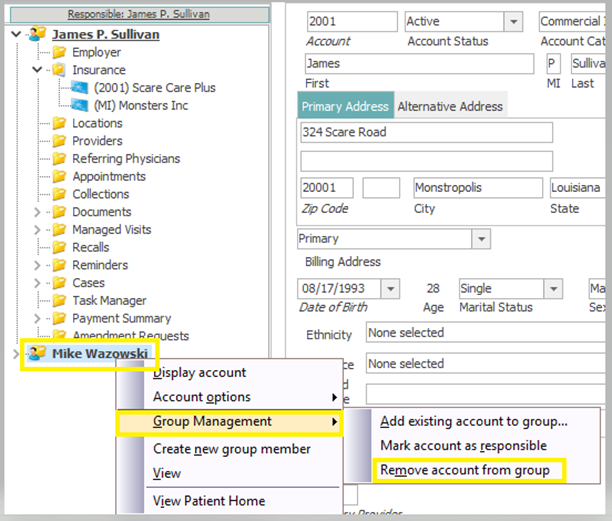
Ungrouping Accounts
Step 1: Right click on the patient’s name in the Patient Tree and select “Group Management” then “Mark account as responsible” in order to mark the patient as their own responsible party.
Step 2: Click “Yes” on the popup to confirm the responsible party change.
Step 3: Right click on the previous responsible patient account that you want to remove from the group and select “Remove account from group”.