If an ERA is automatically posted the Claim Adjustment and Remark codes will add to the transaction line automatically. If the ERA must be manually posted they must be manually added.
To add the claim adjustment remark codes in Posting OR Account Visits/Transactions follow the below steps.
- If you are adding in posting: If a control is already opened select control. Otherwise open a new control. If not in posting go to Account Visits/Transactions
- Go to Visits and Transactions
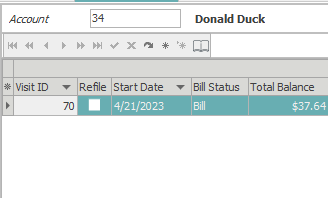
- Search for the account and Date of Service
- Once visit is selected, right click on the transaction line that needs the claim adj/remark code or codes entered in and select Add Remark/Claim Adj. Codes

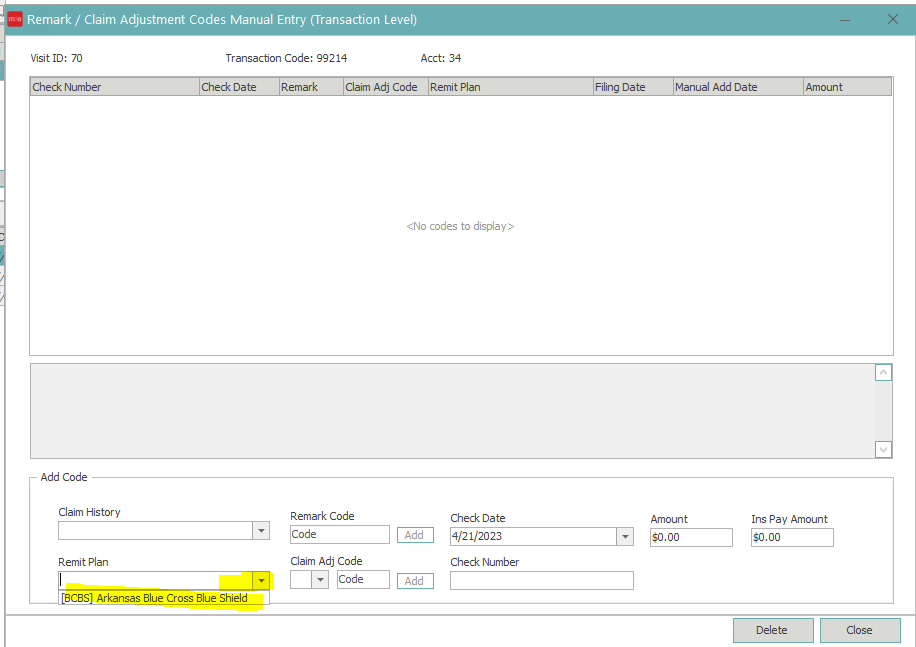
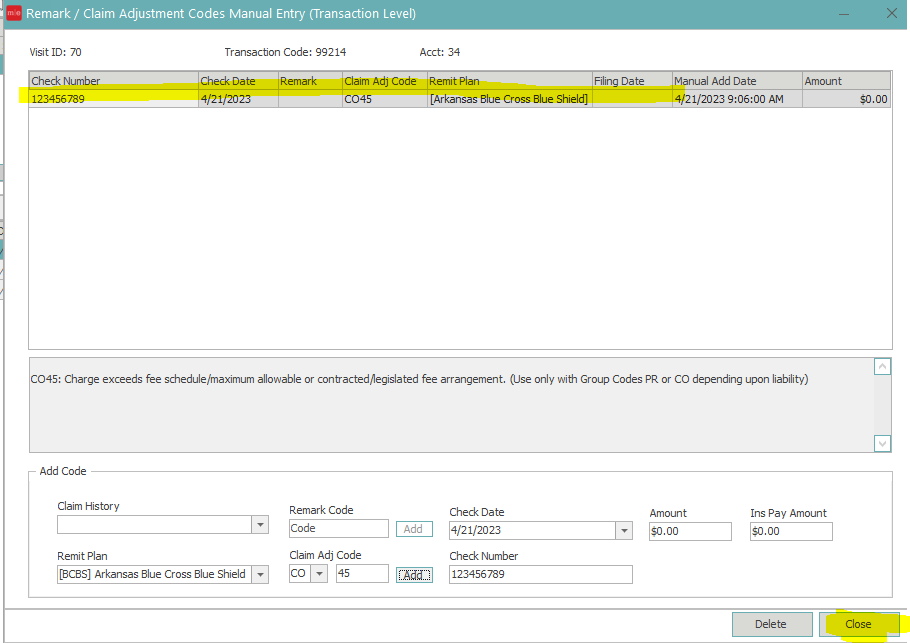
- The following window will appear. Select the drop down for Remit Plan and select the insurance plan the payment belongs to.
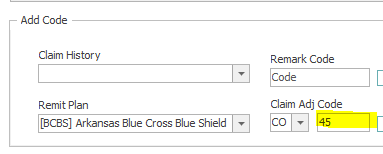
- In Claim Adj Code click the drop down to choose CO, PR, PI, or OA
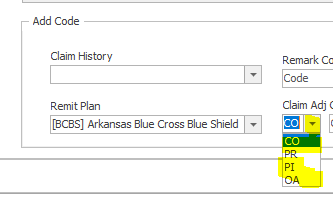
- In box that says code choose the code 45,23,253 etc.
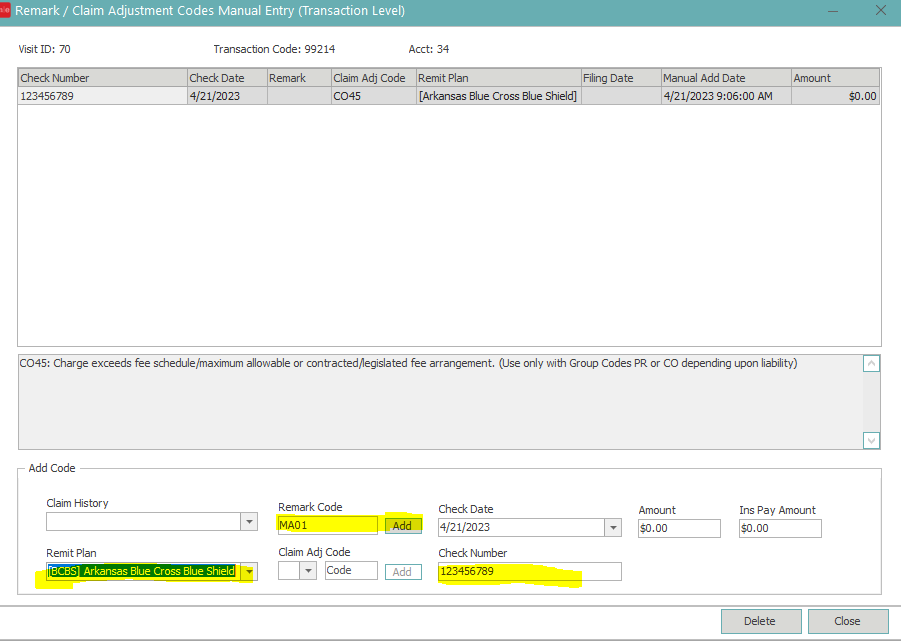
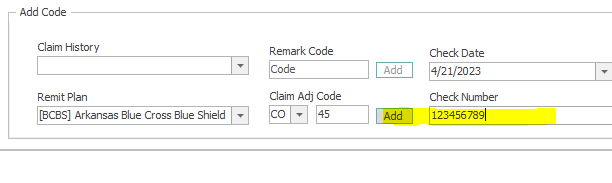
- The add button will be greyed out until check number is typed in. Once check number is added click add button
- The line will then appear at the top section of the window. Select close.
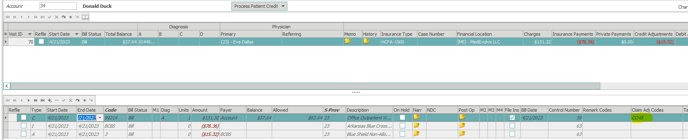
- The code after a moment will populate in the Claim Adj Codes column on the Charge transaction line.
You can also add the remark codes at the same time as the adjustment column or separate. To add the Remark codes - You would fill in the remark code area as well and have the check number and date filled in and then select add.