Enhancements
Open Balance Module
MedEvolve has created an Open Balance module based on the overall balance of an account. The Open Balance module is a simplified platform in which we receive minimal data to work down the account total open balance rather than working them in the traditional AR and Overpayment queues. This module is not to be utilized in conjunction with our AR or Overpayment modules due to the consolidated method in which we receive the data.
Configuration
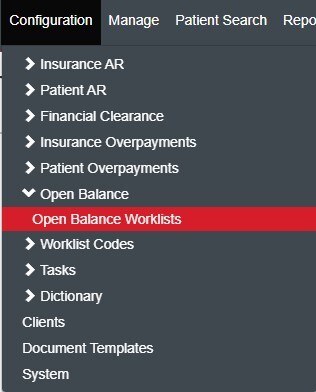
Admins can configure Open Balance worklists by navigating to Configuration > Open Balance > Open Balance Worklists.
Step 1: Action Selection - select an action to create a new list, edit list or clone existing list. Admins can also select the advanced options, delete or prioritize lists or navigate to the redistribute lists options.
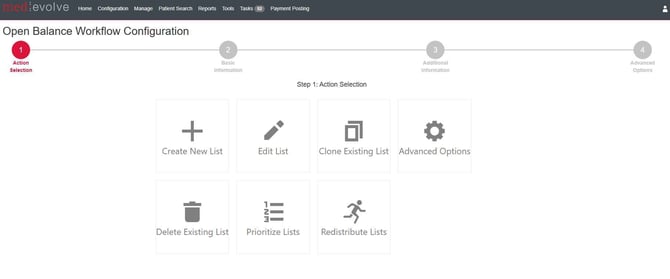
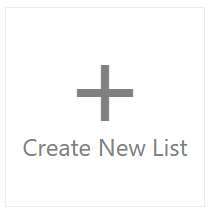
Select Create New List to create a new Open Balance worklist.
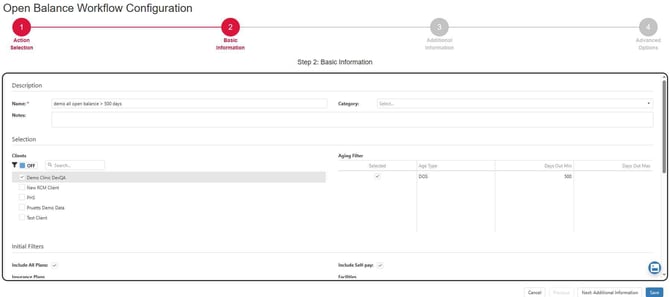
Step 2: Basic Information page - Enter worklist name then select parameters to choose applicable clients, aging by DOS min/max days out, insurance plans, and facilities.
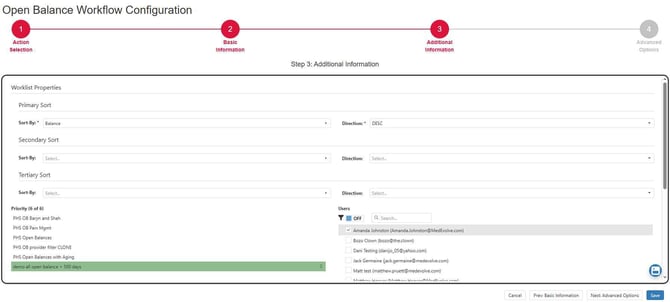
Step 3: Additional Information- Admins can select sort order, priority, assign users, and action codes.
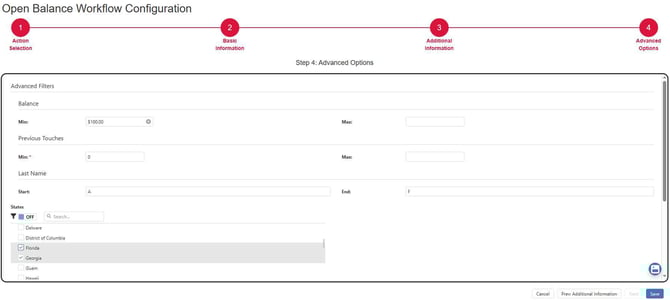
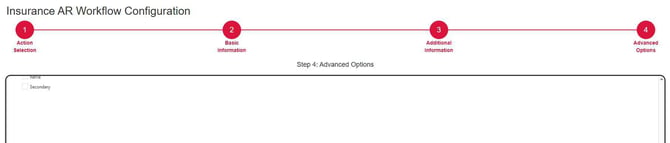
Step 4: Advanced Options - Admins can select to enter balance min/max, last name, states and/or other permissions & tag options.
Open Balance worklist configurations can be updated by selecting Edit List to make modifications to any existing worklist. This navigates the user to the parameter pages within the configuration to edit the basic information, additional or advanced options as they did upon creation of the worklist.
Admins can also Clone Existing worklists and make updates prior to saving the cloned worklist configuration by selecting the Clone Existing List.

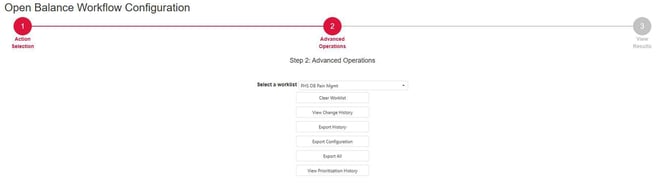
Admins can view the history of configurations and have the option to export worklist configurations when desired within the Advanced Options. After making a worklist selection, they can clear the worklist or view the change history. Additionally, admins can export the history for the selected worklist, export the current configuration selected or export all configurations. They can also view the configuration priority history by selecting View Prioritization History.

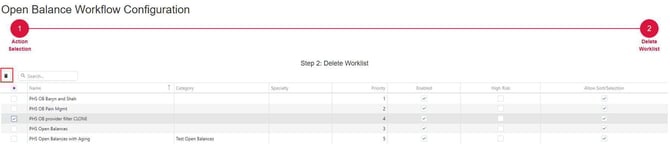
Worklists can be deleted within the Delete Existing List option. Select the preferred worklist(s) then select the delete icon . Admins can also disable or enable worklists, flag them as high risk or allow users to sort/select within the open balance current worklist view grid.

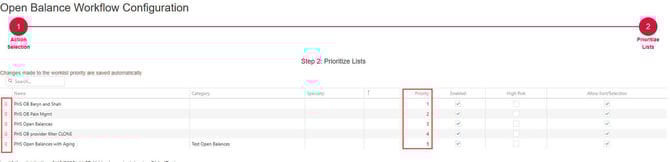
The Prioritize Lists option allows admins to prioritize worklists with ease. Within the prioritize lists view, a worklist can be dragged and dropped by grabbing the icon to the far left and dropping in place or by manually updating the priority number within the Priority Column. Admins can also disable or enable worklists, flag them as high risk or allow users to sort/select within the open balance current worklist view grid as they can in the deletion page.
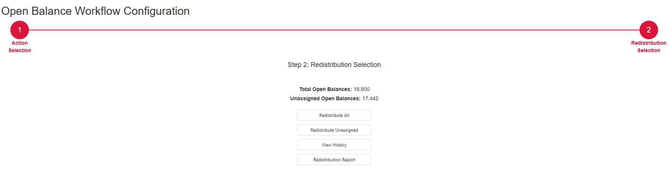
The Redistribute Lists options allow admins to redistribute all open balances manually or redistribute any unassigned open balances. They can also view the redistribution history and perform a dry run report of open balances if a redistribution occurred by selecting the Redistribution Report button.
Worklist view
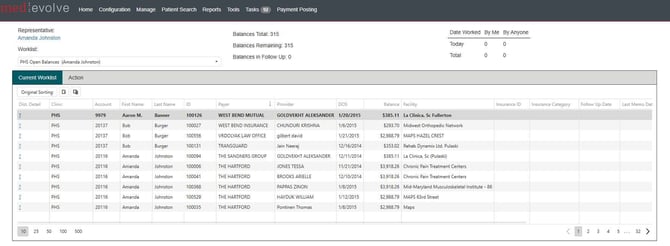
Users can navigate to an Open Balance Worklist by selecting the Open Balance Tile within the home page.
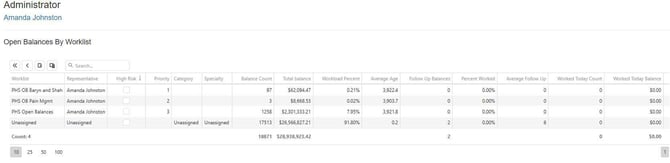
From the Open Balance by Worklist summary grid, select an Open Balance worklist.
From the worklist view, users will then select the Action tab to begin working open balances.
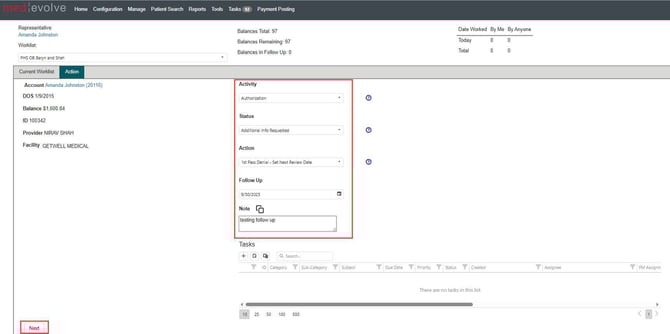
From the Action tab, users will select an activity, status and action, enter a follow up date and a note. Once user has completed these steps, they can then select the Next button to move on to the next open balance within the worklist.
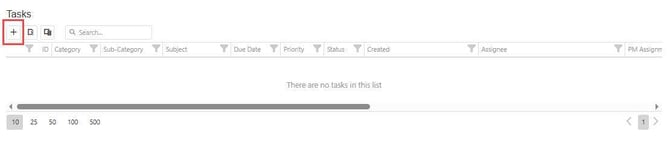
Users can also assign tasks to an open balance within the Action tab. Select the insert button to complete the task details and assign to an applicable department or user.
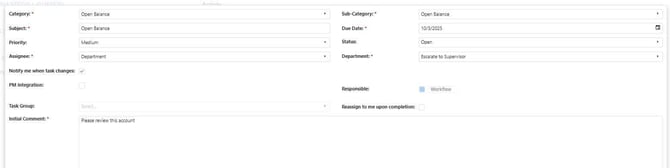
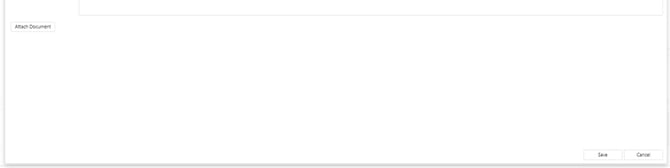
Note: The red asterisks indicate required fields that must be completed to save the task.
The task associated with the open balance will then appear within the action tab task grid upon save.

Note: Cancelled or Completed tasks do not appear within the action tab, only open tasks are displayed.
Users can also view any existing notes or tasks tied to the open balance that have been previously entered within the action tab notes grid at the bottom of the page.

Improvements
- Fixed an issue causing the Insurance AR Due for Follow Up worklist to time out
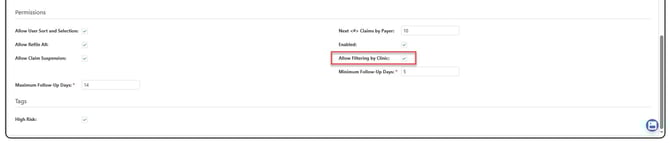
- Added a Clinic Filter within the Insurance AR and Financial Clearance worklist view grids. This filter is configurable per worklist within the Insurance AR configuration in the permission section, however, the Clinic Filter is always present with Financial Clearance.

***ADDITIONS - Version 21.0.0.5***
Enhancements
Client Configuration
System Admins can now link Specialties within Configuration > Clients > Client Configuration. Linking a specialty to a client allows users to filter by the Specialty within the Insurance AR worklist view.

Insurance AR Configuration
Since specialty is directly tied to specific clients, if the worklist permits “Allow Filter by Clinic” they can also filter by Specialty. This flag is displayed within Insurance AR configuration advanced options when editing, creating or cloning a worklist.
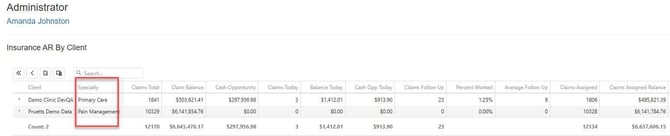
Home Page Summary: Insurance AR by Client
When clients are linked to specialties within the client configuration, the specialty is displayed within the Home Page Summary grid for Insurance AR by Client summary.
Insurance AR Worklist View
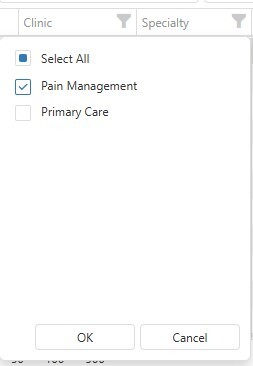
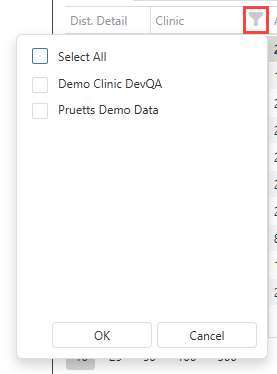
The specialty column is now displayed within the Insurance AR current worklist view grid. When the Insurance AR worklist is configured to allow client filtering, user can also filter by Specialty.
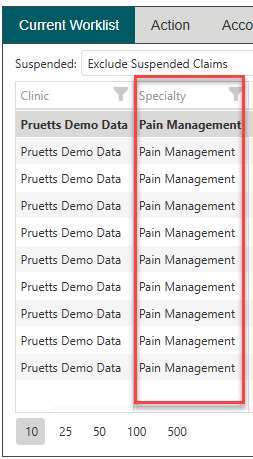
Make a selection within the Specialty filter, select OK to apply filter. This will filter out any claims within the grid that are not applicable to the specified specialty.